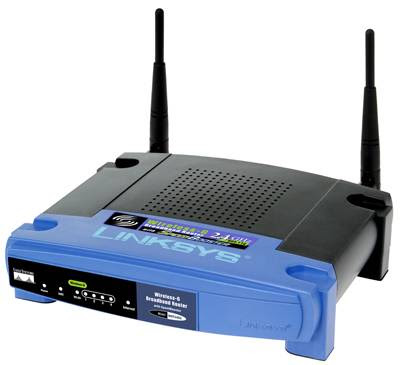
The physical aspect of setting up one of these networks is usually slightly easier when compared to a traditional wired network, since there are no cables to run. Usually, the entire process takes less than an hour.
Any computer with a built-in wireless adapter, such as a Wi-Fi capable notebook, is already prepared to go. Many older notebooks and most desktops won't come with a wireless

- Step 1Power on all of the computers on the network. If any of the systems doesn't have a wireless card already, insert a USB wireless adapter and install the software off of the included CD. Once all of the computers are wireless-ready, plug in the power to the wireless router. The lights on the front should come on. To connect your cable or DSL modem to the router, plug the modem's networking cable into the port labeled "LAN" or "Internet" on the back of the router. Wait a minute for the router to fully start and initialize before moving on to the next step.
- Step 2Double-click on the wireless icon in the lower-right corner of the screen. The default icon used by Windows looks like an antenna, though if you have third-party software installed, the icon may be the logo of the wireless card manufacturer instead. If unsure, hover your mouse over the icon and read the description text that pops up before clicking.
- Step 3Look through the list of available wireless networks. It may take up to fifteen seconds for the list to appear, so be patient as the tool searches for open connections. Your router's name will likely correspond to the brand or model of the router, so you should easily recognize it. It will usually also be the strongest signal on the list of available networks. Double-click on it to connect. It may take up to 90 seconds for the connection to be completed.
- Step 4Open up your web browser and test your connection by visiting any site on the internet. The network is now fully installed. If you wish to enable the security features of the wireless router, such as WPA encryption and password-protection, consult your router's documentation. Every brand uses a different system, so configuration methods will vary from one model to the next.
No comments:
Post a Comment